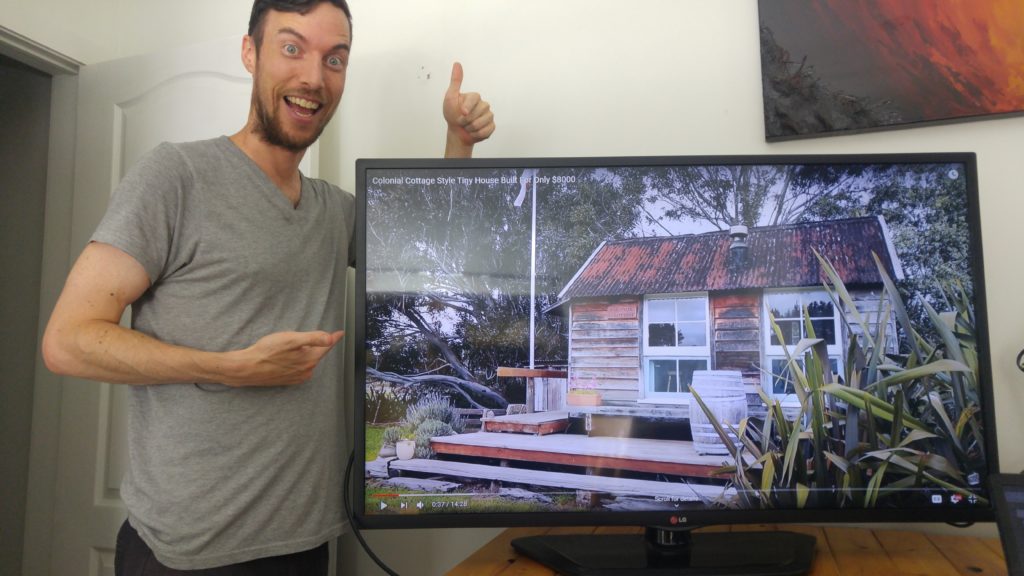
What do you do when you see a LED TV on the street?
Yes, you pick it up! In my case it was a 47 inch smart TV, so even more interesting. I already knew that these types of TV are often thrown out and deemed “broken” when one or more LEDs are dead. Fortunately, replacing an LED is quite easy. It’s honestly a shame that so many TVs or other similar devices are put in the garbage instead of being repaired. I wish everyone would be taught the basics of repairing or repurposing stuff when they’re young. Of course, some things are way harder to repair than others, especially electronics. But at least it would teach the value of reuse and would hopefully reduce the amount of waste that we generate. Repairing something also brings satisfaction and accomplishment. It’s also a very cheap way to get a TV!
Diagnostic
By plugging the TV and turning it on, the screen would light up, then immediately go dark. During this short time, it was visible that some regions of the screen were dimmer than others. So, testing the TV revealed that the problem was indeed dead LEDs. I did a little bit of research to find the correct type of LED to buy on eBay. A month and a half later, I received the parts and tried one of them. Turns out it was the wrong color… *facepalm*. So I researched even more and finally ordered proper LEDs. I couldn’t find the same exact ones, but at least they had the same color and voltage.
Tools
Even though changing LEDs is easy, I couldn’t have done it without the right tools. Here is a list of the minimum tools required:
- Large clean surface/table/desk
- Screwdriver(s)
- Soldering iron or heat gun
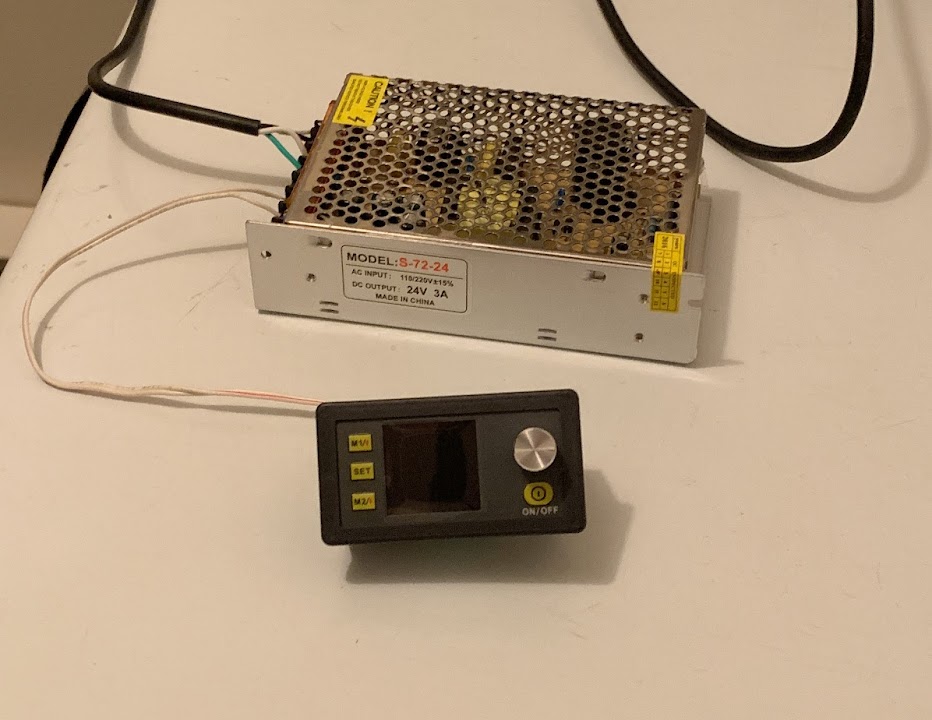
- Power supply (24V ideally)
- Tweezers
Repair Steps
First, make sure the TV is unplugged. To start disassembly, lay the TV flat on a large and clean surface with the screen pointing down. I used my dining table covered with some soft blankets. Use a screwdriver to remove all the screws of the back shell, then remove the back shell. Next, plastic and metal supports all around the screen need to be removed. It’s easier to flip the TV on its back to remove the support, since removing them will loosen the many layers that form the screen. Those layers should be moved very carefully to another clean table, to avoid scratching or bending them. It’s also a good idea to keep them together and in the same order at all times. The last layer is a white plastic sheet held in place by small posts. Removing it gives you finally access to the LED strips.
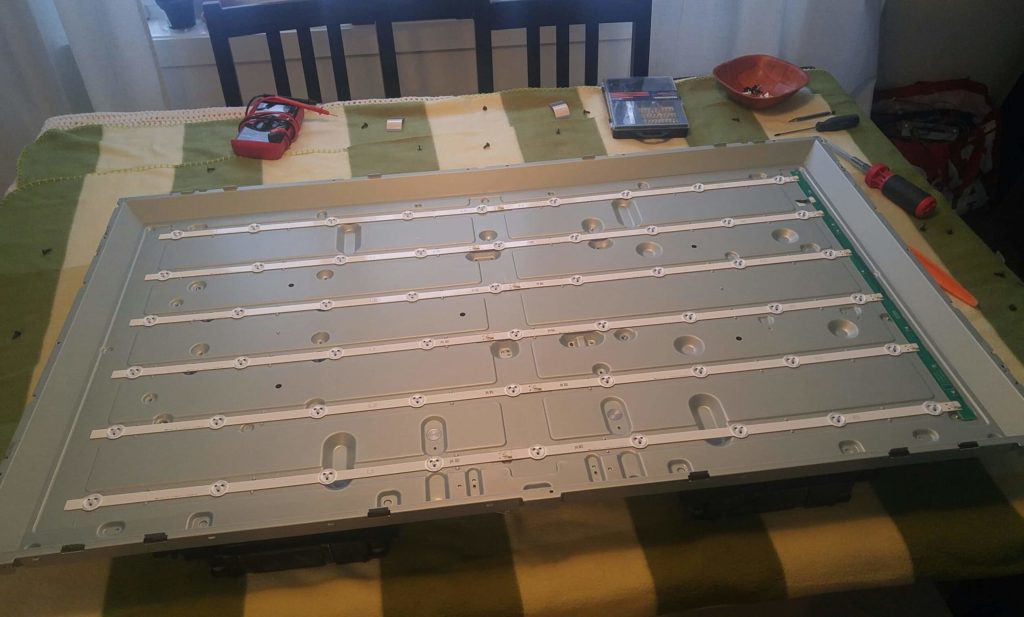
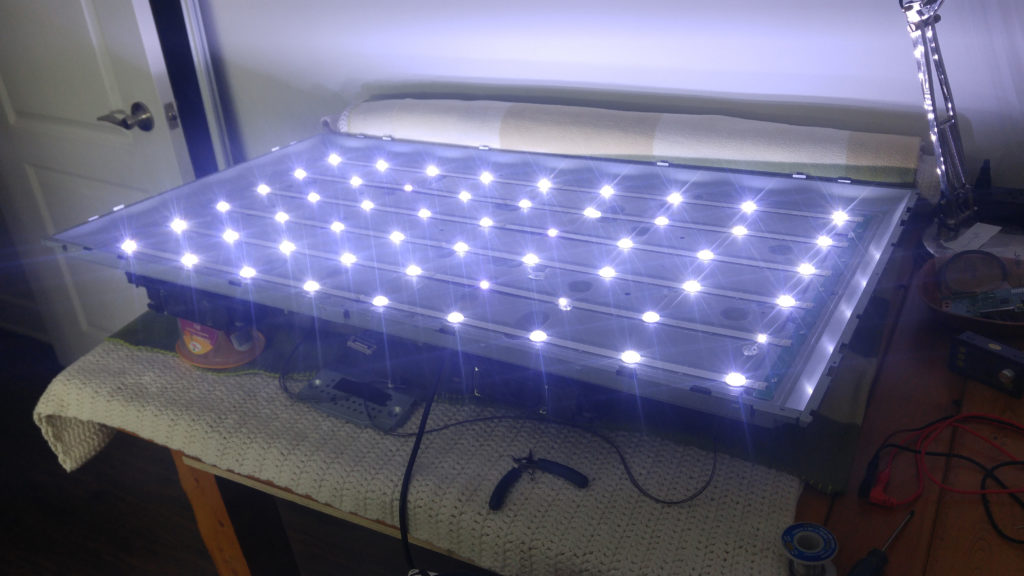
LED strips have adhesive underneath and they are connected with connectors to a fixed circuit board. In this TV, there are six long strips, each made of two small sections of four or five LEDs. To test individual strips, it’s good to unplug them. At this point, we need a power supply that provides enough voltage to test the LED strips. Depending on the type and size of the TV, the LED strips can have more or less LEDs. In my case, with 12V to 18V, I was able to test each strip. I saw three different possibilities:
- All the LEDs on the strip light up (all good)
- All the LEDs on the strip light up, except one or more (dead ones)
- None of the LED on the strip light up
The second case points right to the LED(s) that need replacing. However, it’s possible a short circuit caused none of the LEDs to light up, hence the third case. In this case, you may want to test each LED individually with a lower voltage. If I remember correctly, this type of LED is rated at 6V. Once all the dead LEDs have been identified, it’s time to change them.
To change an LED, the transparent plastic dome on top needs to be removed first. I haven’t found a better way than to break the dome’s small “legs”, which will make it hard to put it back together at the end. Once the LED is accessible, you can either use a soldering iron or a heat gun to desolder it. In my case, I found the heat gun to be more effective, since those LEDs have a relatively large area of contact with the circuit board. Before removing the LED, take a note of its orientation, so it’s easier to position the new one. Use tweezers to remove the dead LED, since it will be hot. Installing a new LED is essentially the same, but in reverse order. The next step was to test the individual LED, than the strip with the new LED(s).
After testing was successful, it was time to put back in place the small plastic domes over the LEDs. As mentioned, that was the most difficult part. First, the size of the new LEDs I ordered was a bit thicker than the original ones, which meant that I needed to grind the domes to be able to fit them correctly in place. I should have definitely searched harder to buy the exact same model of LEDs. Anyways.. fixing them in place was another thing, since I tried several glues but none seemed to work. In the end, super glue seemed to do the trick, but because the dome legs were tiny, they still ended up being very fragile.
Once all strips were tested and good to go, it was simply a matter of putting everything back together. Again, I was extra careful to not bend, dent or scratch any of the screen layers.
A Second Life
In the end, it was a success. The reparation took a few months, simply because receiving parts from eBay takes forever. I am somewhat expecting that other LEDs will die in the future, as the TV is not young. But at least now the reparation process is known and I know what to do and not to do. Even if the reparation would not have been a success, I would have still enjoyed it. I was always interested in opening stuff to figure how everything is made and work. So on top of this new knowledge, I also got a dose of accomplishment and satisfaction because the TV worked!
Fast-forward in the future: The TV functioned very well for several months until I had to move, so it was donated to someone else. Hopefully, it is going to last a long time. And when it does break again, maybe someone else will repair it once more and give it a third life!